Pages

.


.


Showing posts with label canning. Show all posts

How to Can Tomatoes or Preserve Tomatoes


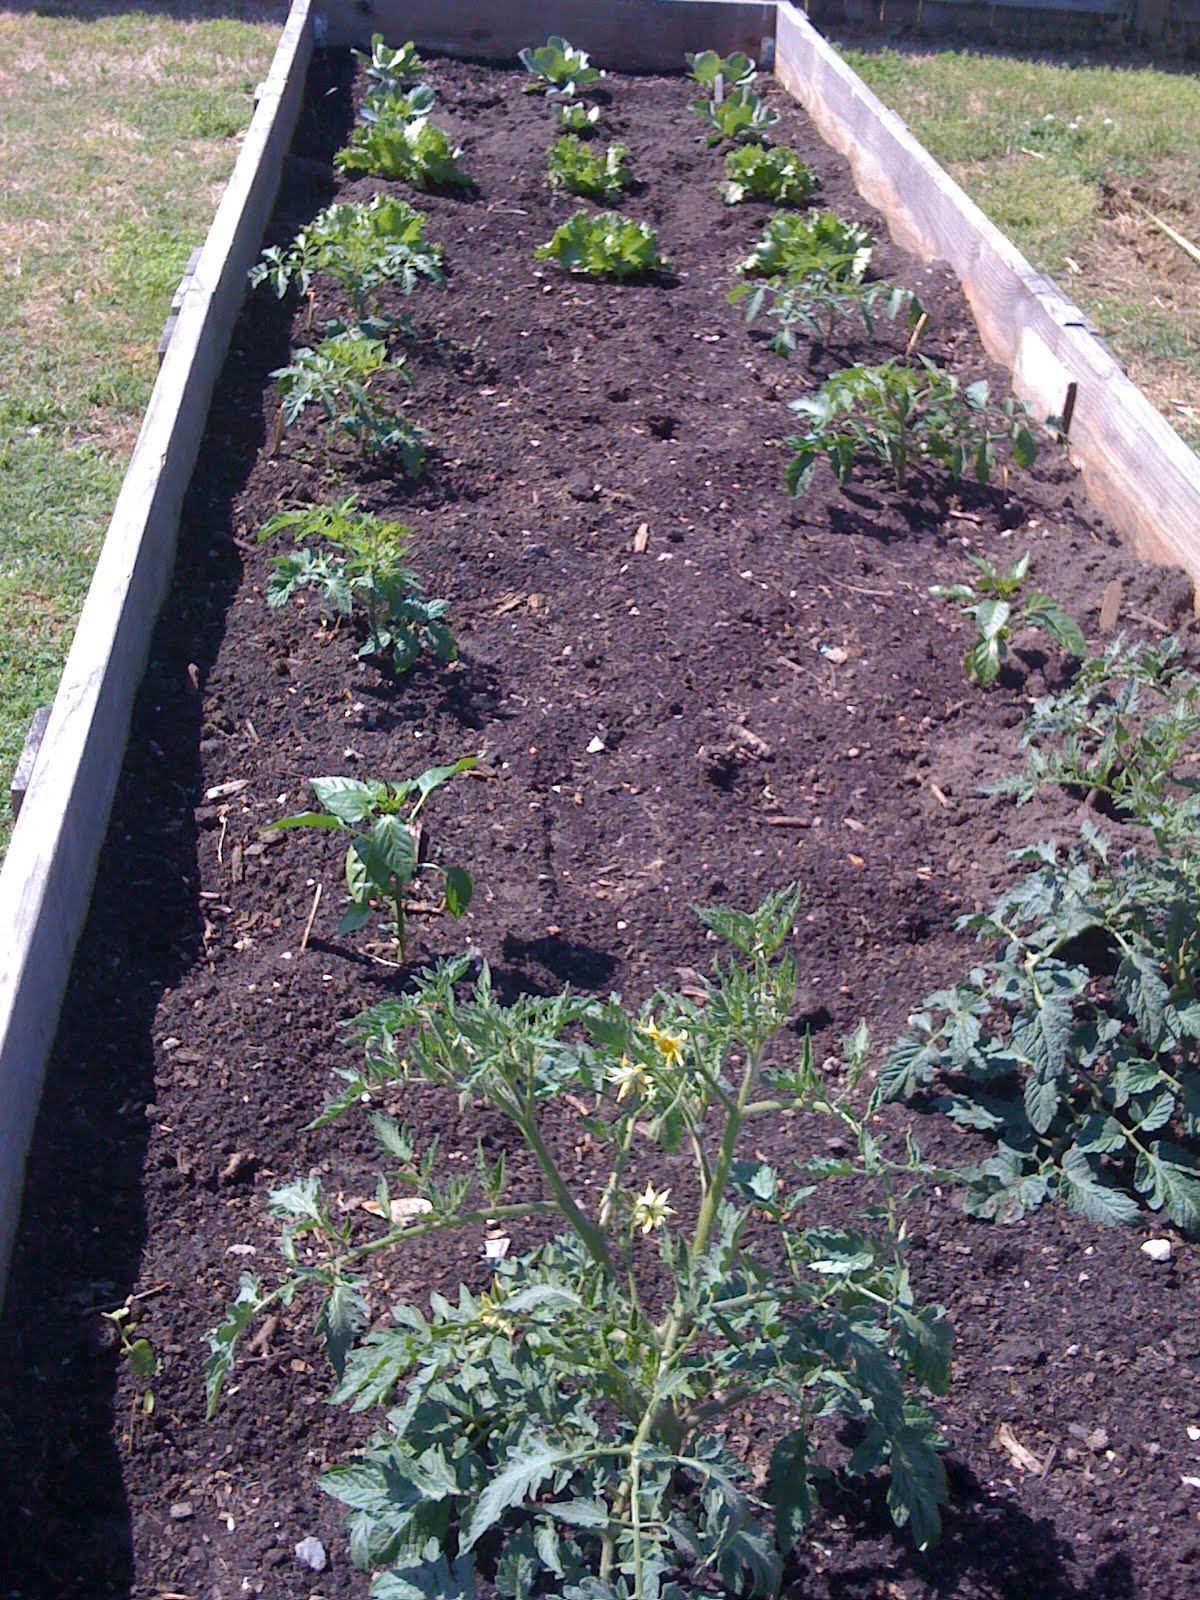
Our tomato plants are even bigger than this picture you see here.  I think of mutant when I see just how large they have grown.  Compost is amazing stuff.  To teach my children about the compost process, I use compost as a lesson on why you must eat your vegetables.  They see us saving our scraps and adding it into the compost bins. And how we feed our plants with the compost the vegetables make.


I have other tomato plants that do not get the compost so they can see how the nutrients received from the vegetables allow the plants to be much healthier.  Will it make them eat their vegetables willingly.  Probably not.  But you can't say I'm not trying my best.

This is our first year organic gardening.  But it is not our first year tomato growing.  We grew tomatoes in New Jersey when we lived there. I actually grew up just outside of New Jersey and we always considered "Jersey" tomatoes the best in he world.  I now think the tomatoes we get off the vines out back are the best in the world.


Can you see this gorgeous Better Boy tomato inside.  So much meat and out of this world flavor. My husband has been bringing in large bowls full of tomatoes about once or twice a week.  Not enough to make sauce though (which needs a huge bushel to boil down into anything).  

So I decided to remove the skin from the tomatoes I will not use immediately.  Quarter and remove the seed and middle goo.  I do not need a large batch of tomatoes to jar.  One large silver bowl equals a quart of diced tomato meat.  So what I have decided to do is jar what I have when I need to.  Once I have enough tomato meat, I'll make sauce.  


The process:
  • Start boiling water in a large pot.  Water will be used to blanch tomatoes and add water to the jar.
  • Sterilize Jars in the dishwasher on the sterilize cycle.  
  • Boil lids and in a small pot of water on stovetop for 3 minutes then place on simmer until needed.
  • Wash tomatoes and cut a small X on the bottom of tomato.  place in large container.  
  • Pour hot water over tomatoes and allow to sit for 1 minute.
  • Starting at the X, peel tomatoes.  Quarter them and toss them into sterilized jar (pressing down lightly to fill jar).
  • Fill jar with boiling water or tomato juice.  
  • Place sterilized ring and lid on.  
  • Place jars in a water bath, submerging jars in 2 inches of water and allow to boil for 40 minutes.


To make a simple Sauce:
If you should have enough tomatoes to make a sauce them place quartered tomato meat into a blender to liquify.  Add liquid to a large pot and boil down until thick.  You could add your various ingredients at this point and make it flavored sauce.  

If you have not seen my favorite recipe for Tomato Sauce, see here.  Lately I have been shredding the zucchini and adding it to the tomato sauce.  Hey, I have to do SOMETHING with all that zucchini.  You can't really tell its there but it really adds lots of nutrition.

Happy canning!

This entry will be linked to


reade more... Résuméabuiyad

Storing Lettuce and Cabbage in a Jar.

This year we started our own organic garden.  I'll share this picture from early on this season.  Here where we live in Arkansas, we get to plant very early compared to our family back home who are just getting started.


We have two raised beds and about 7 30 foot long rows.


We are first time gardeners though.  This means we did not think to spread out the planing of each vegetable to harvest at different weeks.  We had 5 heads of lettuce ready to pick all at once.


Just look at this Bibb Lettuce.  Its just GORGEOUS!  There was no way we could use up all that lettuce right  away.  AND THEN I read about this lady!  I found her totally by accident in fact.  She calls it Salad-in-a-jar.  To me, Salad is more than lettuce. But the idea is wonderful.  She shows you a day by day tutorial of the various storage methods and how each item ages.  Clearly the lettuce keeps for a long time (in pictures).


I too have a food saver.  I have not used my food saver in well over a year but it too had the jar attachments.  First I washed and dried the lettuce real good.  This lady suggested using the metal seal with the rubber underneath and placing the food saver vacuum lid on top.  I held the lid down until the vacuum was able to operate on its own.  The contraption did its thing until I heard a snap on the metal lid.  Its done.  I quickly screwed on the ring to keep it sealed.  Voila.

10 days later I uncapped the first of 3 jars.  Totally fresh.  Every bit as fresh as the day I put it in the jar.

Next up, cabbage in the jar.  After all, its cabbage harvesting time for us.
reade more... Résuméabuiyad

Apple Pie in a Jar

I really like this recipe for camping.  I first came across the idea at Recipelion and crossed it with my old favorite apple pie recipe.  Just bring your cast iron skillet camping and either a pre made pie crust of some granola crumbles.  The skillet idea could even work at home for a quick and easy dessert.


4 cups white sugar (a combo of white and brown would be good too)
1 cup corn starch or tapioca
1 teaspoon Salt
2 teaspoons Cinnamon
1/4 teaspoon Nutmeg (optional)
4 teaspoons Lemon Juice
10 cups Water
28 cups sliced Granny Smith apples
(2 small apples per cup or 1 pound per cup, I used 2 bags of small apples)

Place a rack in the bottom of a large stock pot. Fill pot with hot water. Sterilize 7 1 quart canning jars, 7 lids and 7 rings by placing on rack, jars upright. Bring water to a boil. Boil 10 minutes. Remove with a holder and allow jars to air-dry. Save water for

Combine sugar, cornstarch, cinnamon, nutmeg, salt and water in a large saucepan. Place over high heat and cook until thick and bubbly, stirring frequently. Remove from heat and stir in lemon juice. Make sure you cook out all of the corn starch taste.

Tightly pack apples into sterilized jars. Make sure you leave a space at the top of the jar. Slowly pour syrup over apples, covering them completely. This step is a slow process as it takes time for the thick syrup to seep into the packed jars. Gently tap jars on countertop to allow air bubbles to rise. Screw lids on jars.

Carefully lower jars into pot using a holder. Leave a 2 inch space between jars. Add more boiling water if necessary, until tops of jars are covered by 2 inches of water. Bring water to a full boil, then cover and process for 30 minutes (cold packed apples should be done for no less than this).

Remove jars from pot and place cloth-covered or wood surface, several inches apart, until cool. Once cook, press top of each lid with finger, ensuring that seal is tight (lid doesn't move up or down at all). Sealed jars can be stored for up to a year.

*Working note: Very tart apples may require a larger amount of sugar and very juicy ones may call for a larger amount of tapioca or cornstarch.

**Apples are not cooked though this process. Final product still needs full cooking to soften apples.

***Add jar's contents to your favorite fresh or frozen 9" pie crust recipe. Bake 425 for 15 minutes. Lower temp to 375 and bake for 35 more minutes.

****To make Foil Apple Cobbler take a sheet of foil and spray with nonstick spray. Place several spoon fulls of apple filling. Add granola. Toss in some carmel for fun. Close and roast for 20-30 minutes.


This post has been linked to:
reade more... Résuméabuiyad